> ## Documentation Index
> Fetch the complete documentation index at: https://perfgrid.com/docs/llms.txt
> Use this file to discover all available pages before exploring further.
# How to enable 2FA
> Enable two-factor authentication on your hosting-panel.net account with an authenticator app and recovery codes.
Two-factor authentication (2FA) adds a second step to your [hosting-panel.net](https://hosting-panel.net) login. After you enter your password, you enter a 6-digit code from your authenticator app.
Grid Hosting 2FA is separate from 2FA in the [client area](/docs/general/security/how-to-enable-2fa-in-client-area) and from [cPanel](/docs/cpanel/security/how-to-enable-2fa-in-cpanel). Enable each login you use.
## Enable 2FA
Log in to your hosting panel at [hosting-panel.net](https://hosting-panel.net).
Open the user menu (your account name) and click **Profile**.
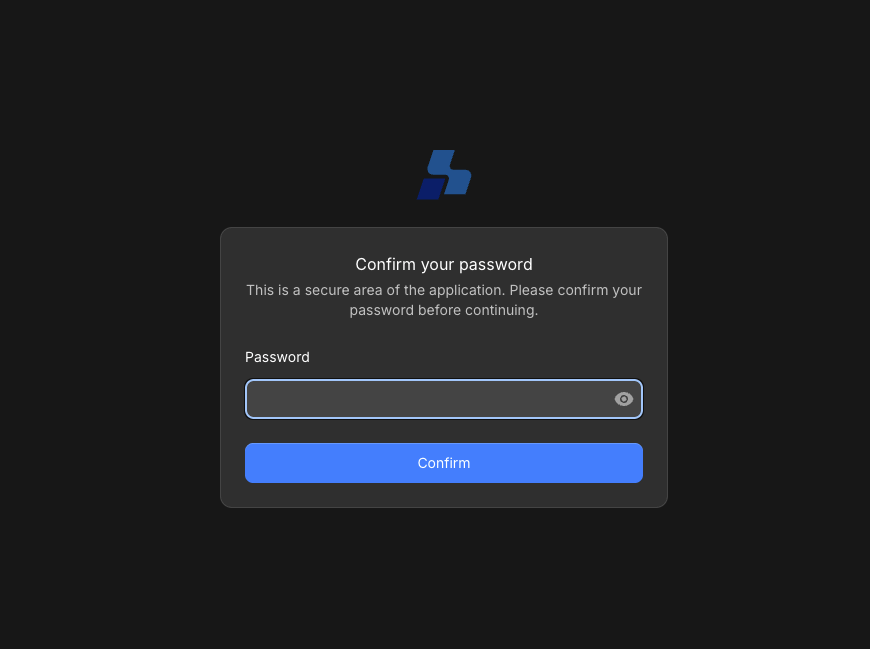
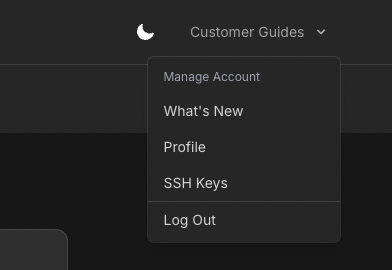 In the settings sidebar, click **Two-factor auth**. Confirm your password when asked. This is a secure area of the application.
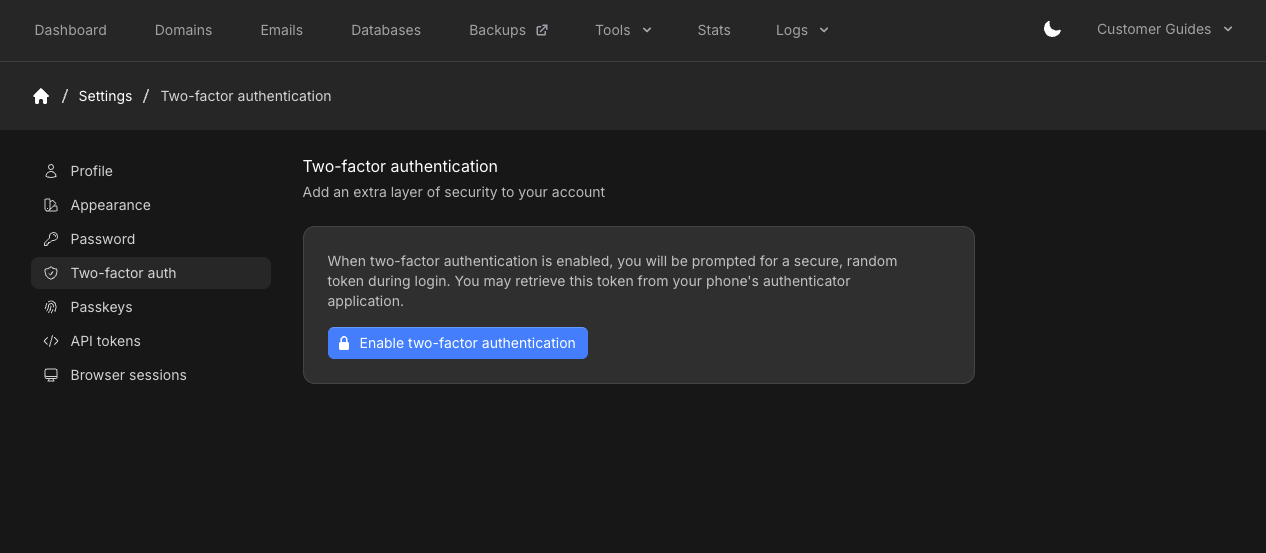
 Click **Enable two-factor authentication**.
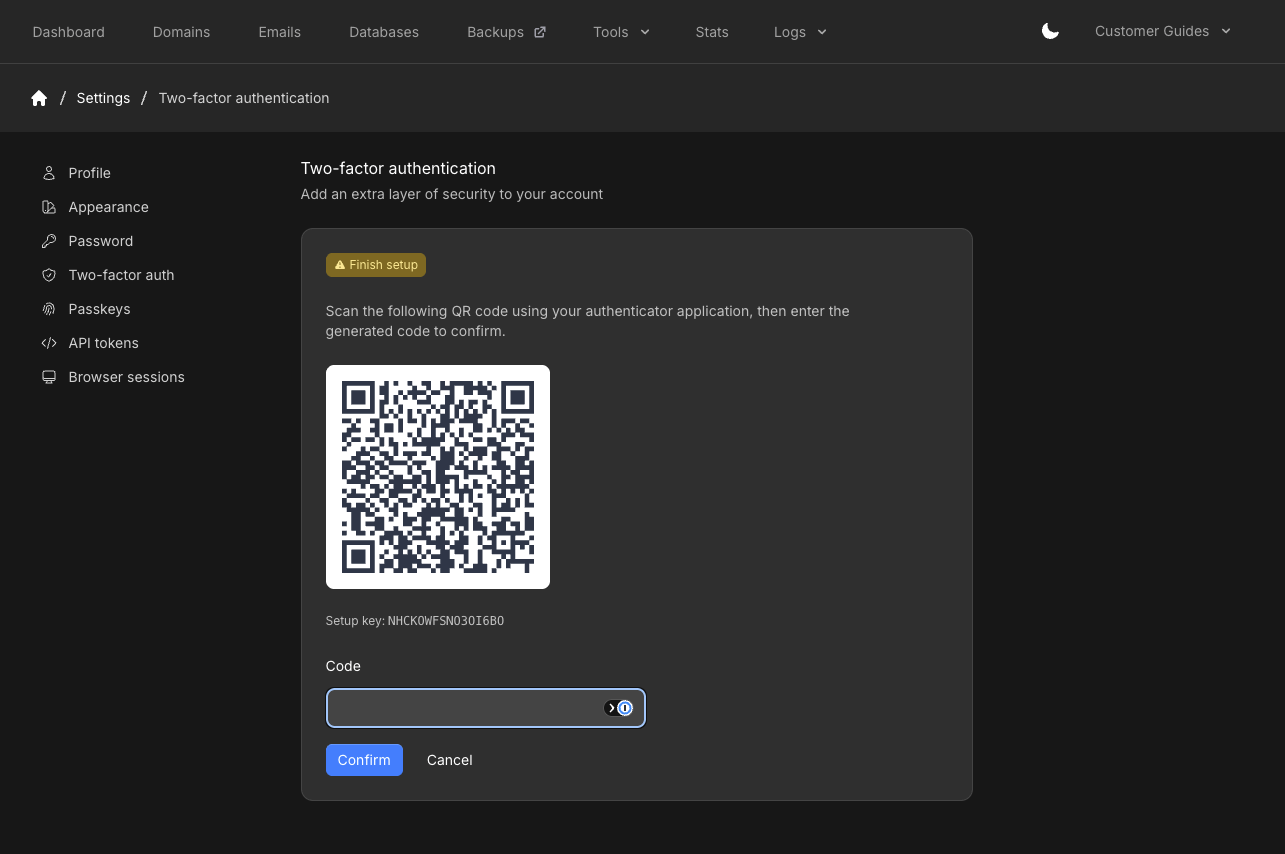
 Scan the QR code with an authenticator app such as Google Authenticator, Authy, Microsoft Authenticator, 1Password, or Bitwarden. If you cannot scan, enter the **Setup key** shown under the code.
Enter the 6-digit **Code** from the app and click **Confirm**.
Scan the QR code with an authenticator app such as Google Authenticator, Authy, Microsoft Authenticator, 1Password, or Bitwarden. If you cannot scan, enter the **Setup key** shown under the code.
Enter the 6-digit **Code** from the app and click **Confirm**.
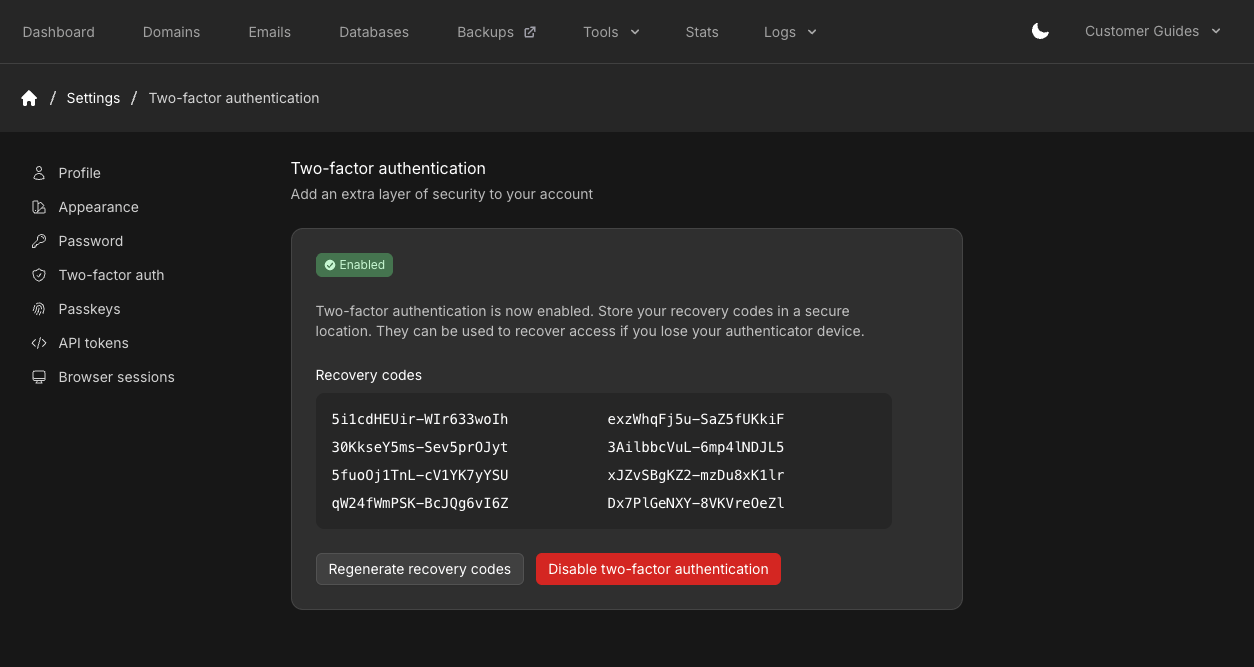
 When setup is done, the page shows **Enabled** and a set of **Recovery codes**. Store them in a password manager or other secure place. You can use a recovery code to sign in if you lose the authenticator app.
 On your next login, enter your password and then the current code from the app.
## Manage 2FA
On **Two-factor auth** you can **Regenerate recovery codes** (the old codes stop working) or **Disable two-factor authentication**.
Keep the recovery codes even after setup. If you lose the app and the codes, contact support to reset 2FA after identity verification.
## Related articles
* [Profile settings](/docs/grid-hosting/profile/profile-settings)
* [Passkeys](/docs/grid-hosting/profile/passkeys)
* [How to enable 2FA in the client area](/docs/general/security/how-to-enable-2fa-in-client-area)
On your next login, enter your password and then the current code from the app.
## Manage 2FA
On **Two-factor auth** you can **Regenerate recovery codes** (the old codes stop working) or **Disable two-factor authentication**.
Keep the recovery codes even after setup. If you lose the app and the codes, contact support to reset 2FA after identity verification.
## Related articles
* [Profile settings](/docs/grid-hosting/profile/profile-settings)
* [Passkeys](/docs/grid-hosting/profile/passkeys)
* [How to enable 2FA in the client area](/docs/general/security/how-to-enable-2fa-in-client-area)