Log in
Log in to your hosting panel at hosting-panel.net.
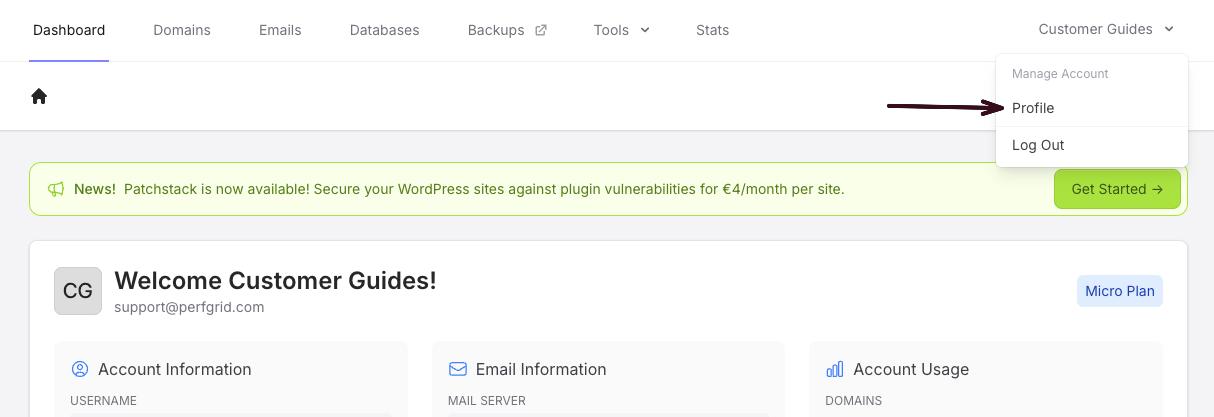
Enable Factor Authentication
On the Profile Settings page, you’ll find the Two Factor Authentication section. Simply click the Enable button to start the setup process.
Enter your account password
A modal will appear, asking you to enter your account password. This is to confirm that you are the owner of the account.
Enter your account password and click the Confirm button.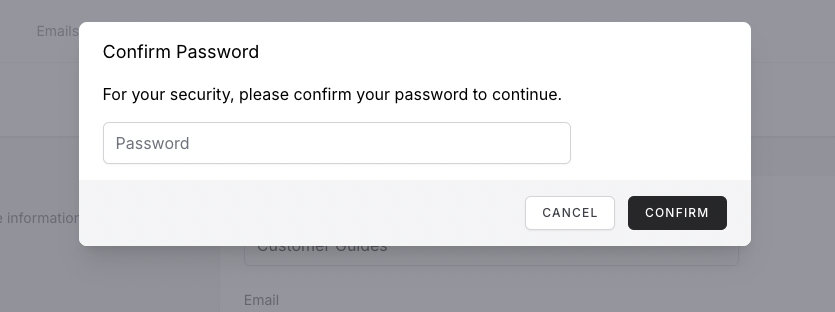
Scan the QR code with your authenticator app
You’ll be presented with a QR code which you can scan with your authenticator app. Alternatively if you can’t scan the QR code, you can enter the code manually. After you’ve scanned the QR code, you’ll be presented with a code. Enter the code from your authenticator app and click the Confirm button.
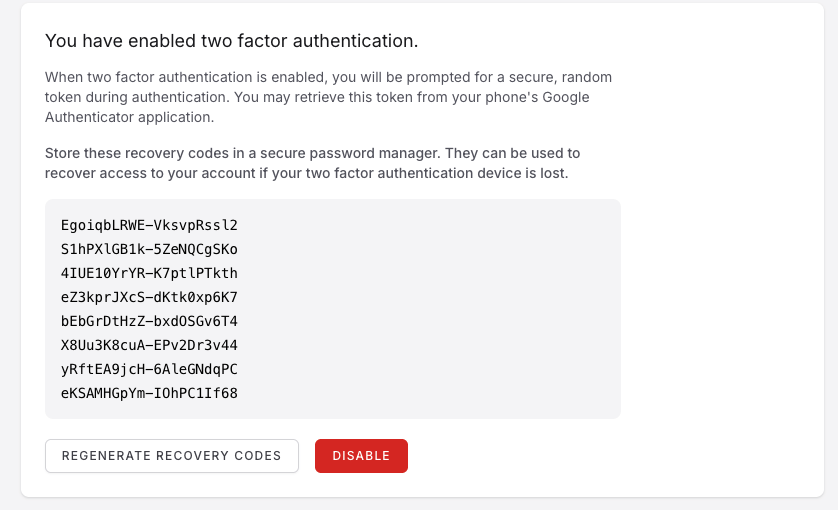
Store your backup codes
Lastly you’ll be presented with a set of backup codes. You should store these in a secure location, since they can be used to login to your account if you lose your authenticator app.