

ssh-ed25519 and ssh-rsa public keys. Keys added here are written to ~/.ssh/authorized_keys on your server. Keys you added yourself outside the panel are preserved.
Grid Hosting SSH listens on port 831. The SSH Access box on this page shows your hostname. See How do I connect over SSH on Grid Hosting?.
Add a key
1
Create a key pair on your computer
Generate a key locally if you do not already have one. For RSA:Copy the public key (
ed25519 is a good default:*.pub). It should start with ssh-ed25519 or ssh-rsa. Never paste the private key into the panel.2
Open SSH Keys
Log in at hosting-panel.net. Open the user menu (your account name) and click SSH Keys.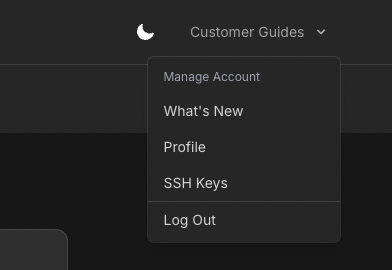 Each row shows Name, Type, Fingerprint, and Source IP.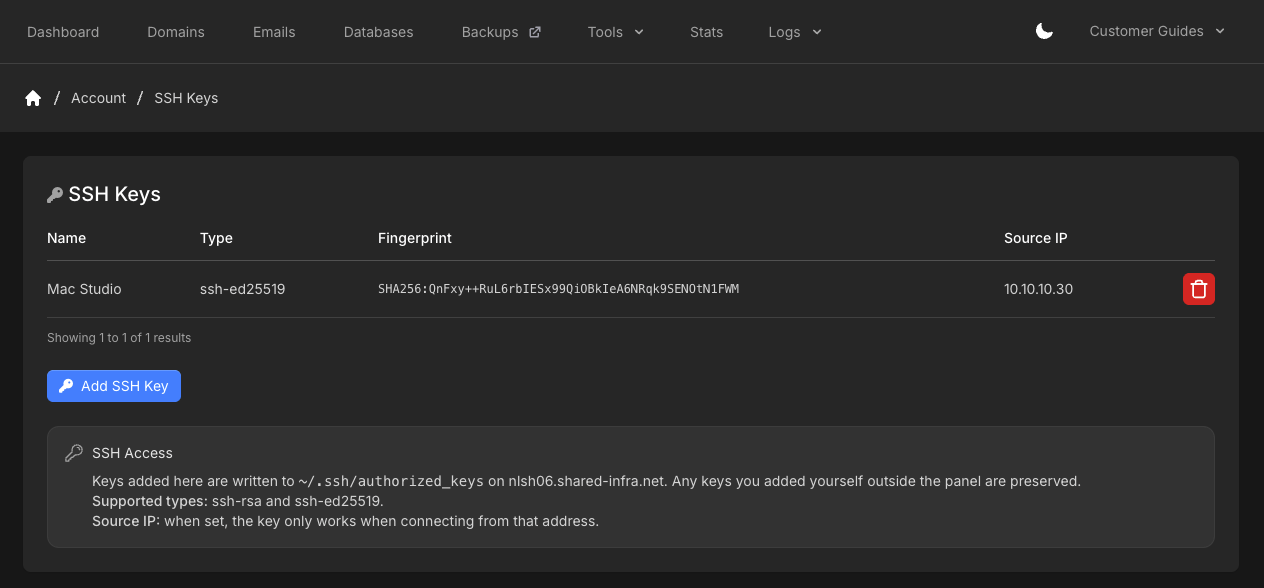
3
Add SSH Key
Click Add SSH Key. Enter a Name (for example 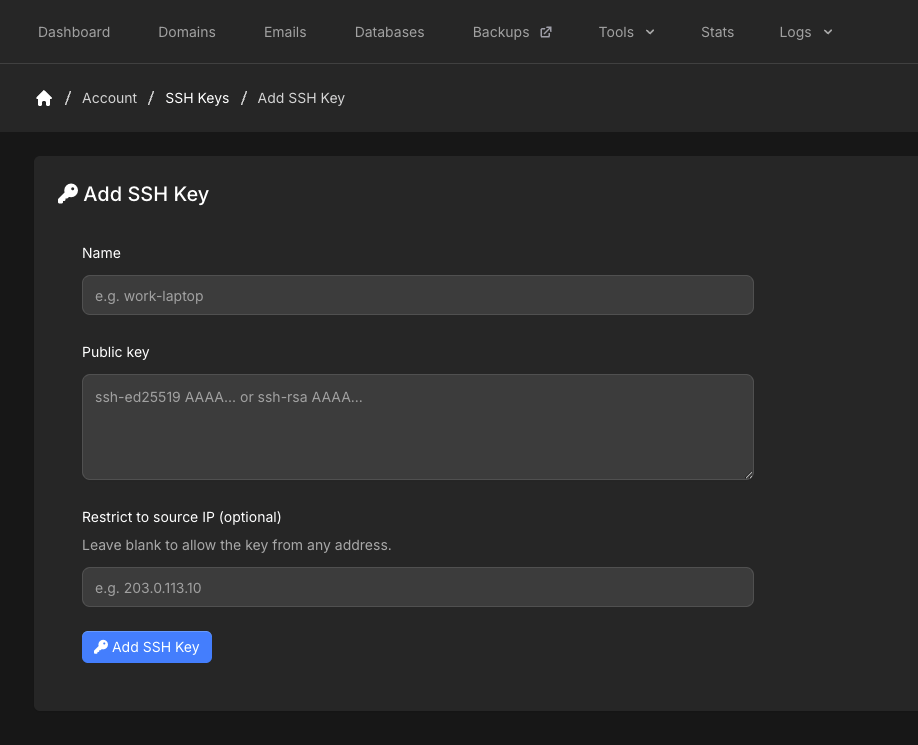
work-laptop), paste the Public key, and optionally set Restrict to source IP (optional) to a single IP. Leave the IP blank to allow the key from any address.4
Connect
SSH as the main account user (under Account Information on the dashboard, for example Replace the username and hostname with the values shown in the panel.
c1234567) on port 831: